Adjusting a ThirdEye dental camera after installation
Any broadcast or photo professional will tell you, how important perfect illumination for still photography or filming a movie scene is. There is one reason, why ThirdEye dental cameras can shoot such high quality photos and videos:
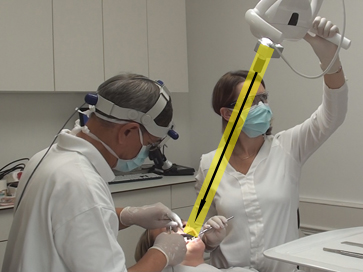
ThirdEye dental cameras are using your dental light - any dental light - as a permanent ring (flash)light. To use your dental light as a permanent ring light, the optical axis of the camera must be identical with the axis of the central light ray.
Now here we show you how to align the central ray of your dental light to the optical axis of the camera lens.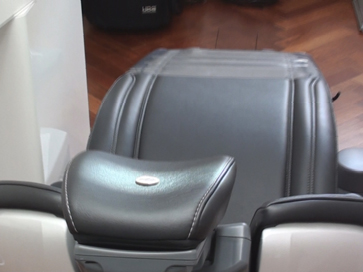
Please put a coin in the center of the neck restraint of your dental chair. Turn the dental light on and direct the beam of light of the dental light towards the coin. The coin should appear in the center of the light beam - or a little bit above the center, not to dazzle your patients later.
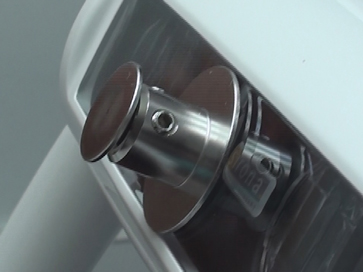
Loosen the screws of the miniature camera mount.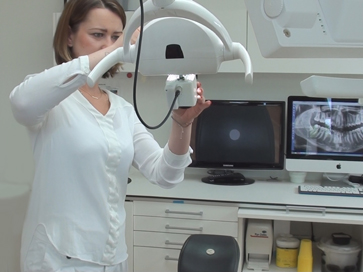
Guide the camera with your left hand so that the coin appears in the center of the monitor screen. Please be aware, that the coin always has to stay in the center of the light ray! (this explanation is for right handed dentists only).
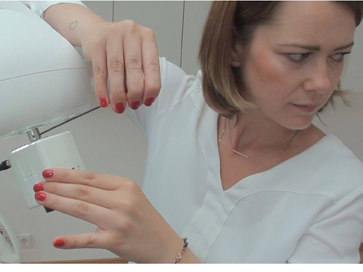
Holding the camera, your right hand tightens the locking screws of the ball joint with the enclosed allen screw driver. Having tightened the screws firmly shake the camera slightly as to make a check.The coin on the monitor always should remain in the centre of the light ray of your dental light !
Finished !!
By the way, our cameras are appropriate for continuous operation. With a power consumption of less than 4 Watts (ThirdEye-HD) you need not constantly separate the camera from the power supply. It will be sufficient switching off the camera (by pulling the plug/pushing the "off" button) during working breaks and in the evening after work.

